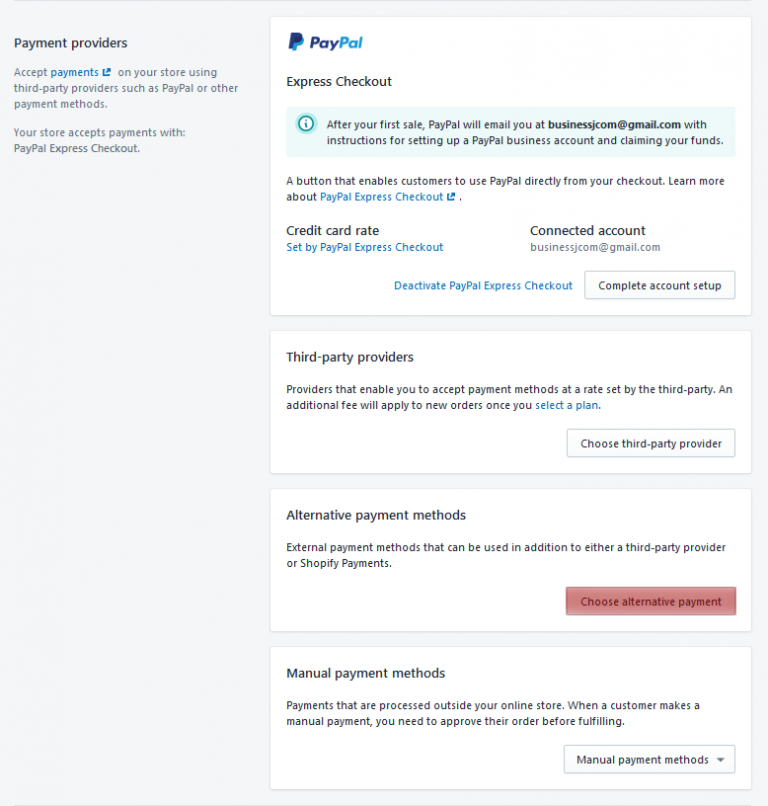
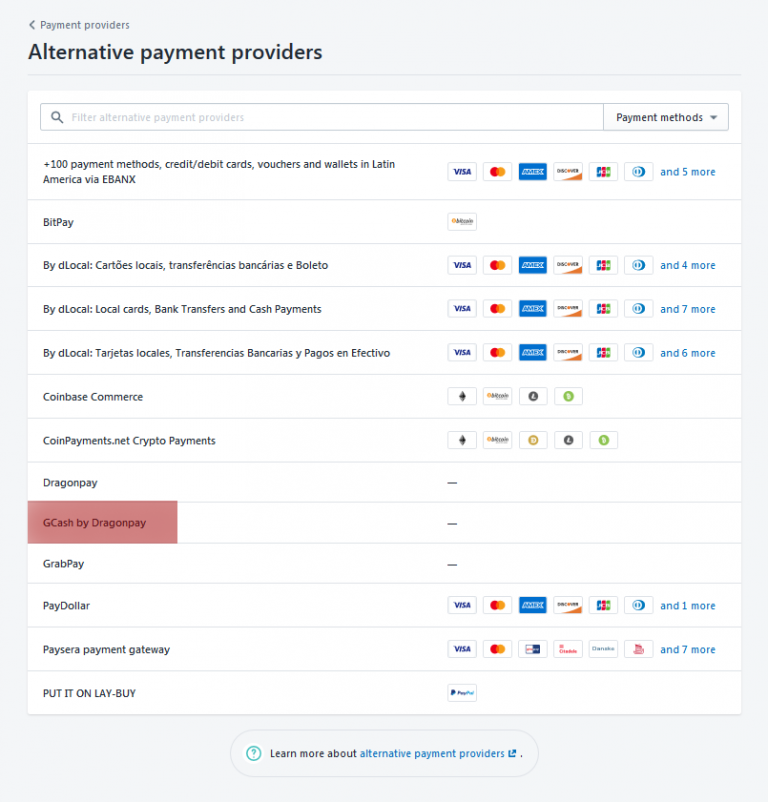
Business

THREE EASY STEPS

BE A DRAGONPAY MERCHANT

VISIT THIS LINK FOR MORE INFO

SET IT UP USING YOUR DRAGONPAY MERCHANT ACCOUNT

STEP BY STEP PROCESS

1.

GO TO THIS LINK

Upon landing on the page, you will either be asked for your recently accessed store or to login to your store.

Install Dragonpay Gcash on your Shopify account - Step 1
Install Dragonpay Gcash on your Shopify account - Step 1 Login

2.

INSTALL GCASH BY DRAGONPAY ON YOUR SHOPIFY PAGE

You will be prompted to install the checkout button. Since this is a new checkout button, a warning will appear.

Install Dragonpay Gcash on your Shopify account - Step 2

You will be redirected to Settings > Payment providers. 
Click “Choose Alternative payment

Install Dragonpay Gcash on your Shopify account - Step 2 settings

GCash by Dragonpay” will now appear as an option. Take note that “Dragonpay” will appear as well. Since this is an officially supported checkout button, it appears without having to “Install payment provider” from 2 steps ago. This is the same checkout button, except “Dragonpay” will show all available payment options for your merchant account and the transaction amount, while “GCash by Dragonpay” will go directly to GCash.

Select “GCash by Dragonpay” (and/or “Dragonpay” by repeating this step later).

Install Dragonpay Gcash on your Shopify account - Step 2 Payment providers

3.

SET IT UP USING YOUR DRAGONPAY MERCHANT ACCOUNT

Set the MerchantID and Password provided to you. Set the “test mode” according to the Merchant Account that you have. Take note that test screenshot will be required. Instructions will be provided in the Dragonpay Merchant account email.

Install Dragonpay Gcash on your Shopify account - Step 3

No Merchant Account? Contact your Dragonpay account manager or GCash account manager.
No account manager? Contact [email protected]